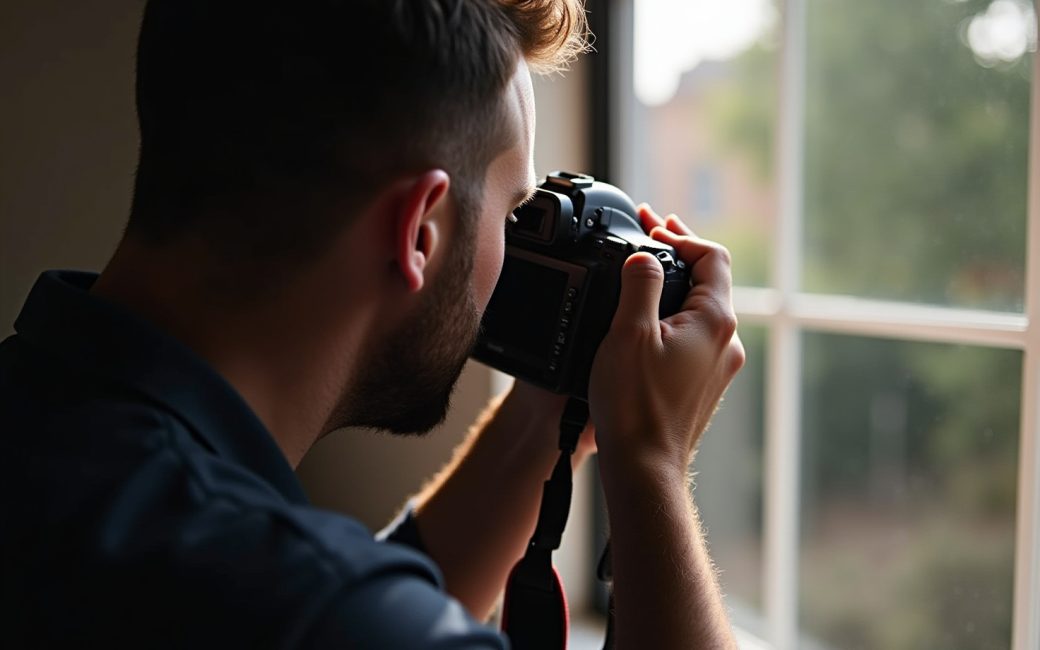
Slow shutter speed chosen in low light

If a photo looks soft or smeared across the whole frame — not just around one moving object, but everywhere, including things that were standing still — the shutter was probably open too long for the camera to be held steady. This is the most common technical failure in beginner photography, and it produces a distinct symptom: uniform blur rather than blur confined to one subject.
The fix depends on what caused the slow shutter speed in the first place. In dim conditions, a camera in an automatic or semi-automatic mode will often lengthen the exposure time to compensate for the lack of light, and once that shutter speed drops below roughly the reciprocal of the lens's focal length in seconds, handheld shake starts to show up as blur. A 50mm lens handheld at 1/50s is borderline; the same lens at 1/10s will almost always show shake. There are three ways to correct this, and they are not interchangeable:
- Raise the shutter speed so the exposure finishes before hand movement accumulates — this requires either more light or a wider aperture to compensate.
- Raise the ISO so the sensor needs less light to reach the same brightness at a faster shutter speed — this introduces noise, so it's a trade rather than a free fix.
- Put the camera on a tripod so hand shake is no longer a factor at all, which is the only option that lets you keep a slow shutter speed and a low ISO together, useful for long exposures at night or indoors without flash.
Diagnosing why a photo is blurry matters before choosing among these, because shake is only one of three distinct causes. A photo where the whole frame is soft points to camera shake; a photo where the intended subject is soft but the background is sharp usually means the autofocus point landed on the wrong plane; and a photo where a moving subject is smeared while the static background is crisp means the shutter speed was too slow to freeze motion, which needs a faster shutter speed rather than a tripod. Each produces a different look, and treating all blur as a shake problem wastes time trying the wrong fix.
Wide aperture set on a suitable lens
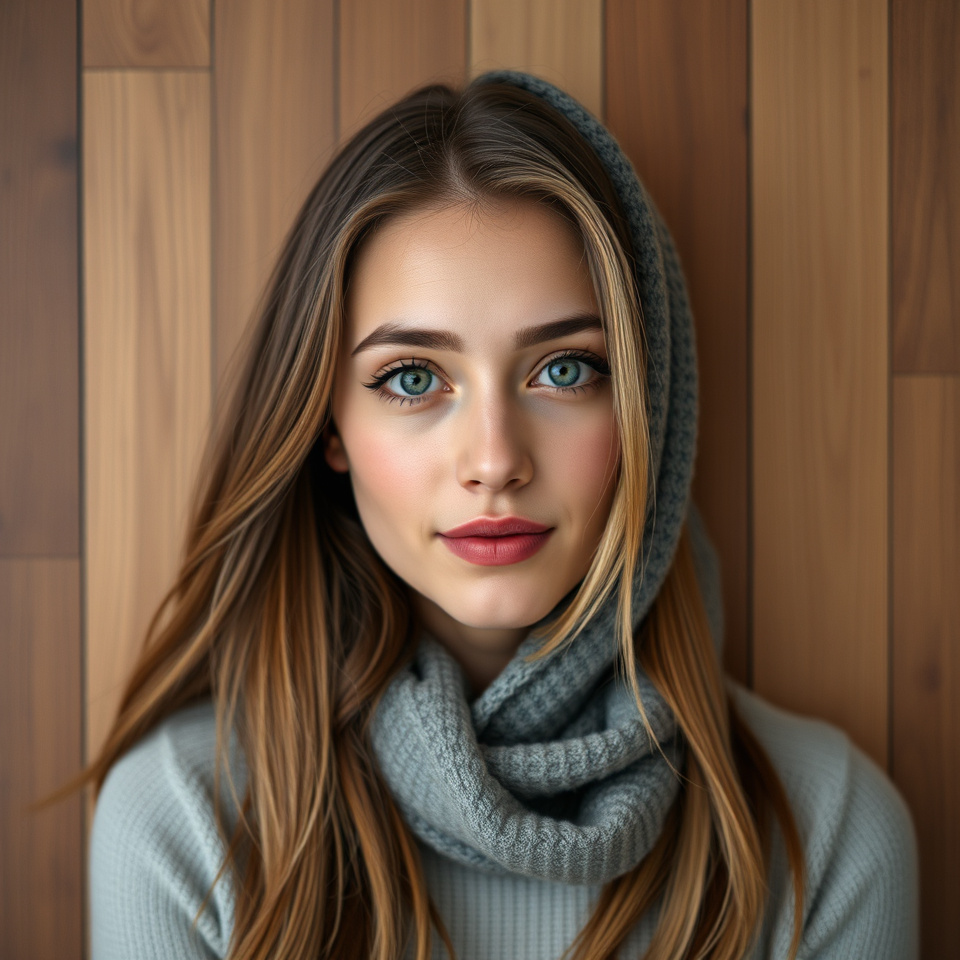
A photo with a sharp subject and a softly blurred background — the look often associated with portrait photography — comes from a wide aperture (a low f-number, such as f/1.8 or f/2.8) rather than from any camera mode by itself. Opening the aperture wide lets in more light and narrows the depth of field, meaning only a thin slice of the scene is in sharp focus while everything nearer and farther falls out of focus.
That narrow depth of field is exactly what makes precise focus placement so important once a wide aperture is chosen. With a deep depth of field at f/11 or f/16, missing the focus point by a few centimetres is usually invisible because so much of the scene is acceptably sharp anyway. At f/1.8, the same small miss can mean the eyes are soft while the tip of the nose or an earring is sharp — visible immediately, especially in a portrait, where viewers judge sharpness by the eyes first. This is why most cameras and phones offer an eye-detection or single-point autofocus mode: it lets the photographer put the one plane of focus exactly where the viewer's attention will land, rather than relying on the camera to guess the subject.
A wide aperture is also a light-gathering tool, not just a background-blurring one — the same setting that separates a subject from its background is often what makes a fast enough shutter speed possible in dim rooms, which is why the aperture, shutter speed and ISO decisions described above never really operate independently of each other.
Shooting under indoor or mixed artificial light
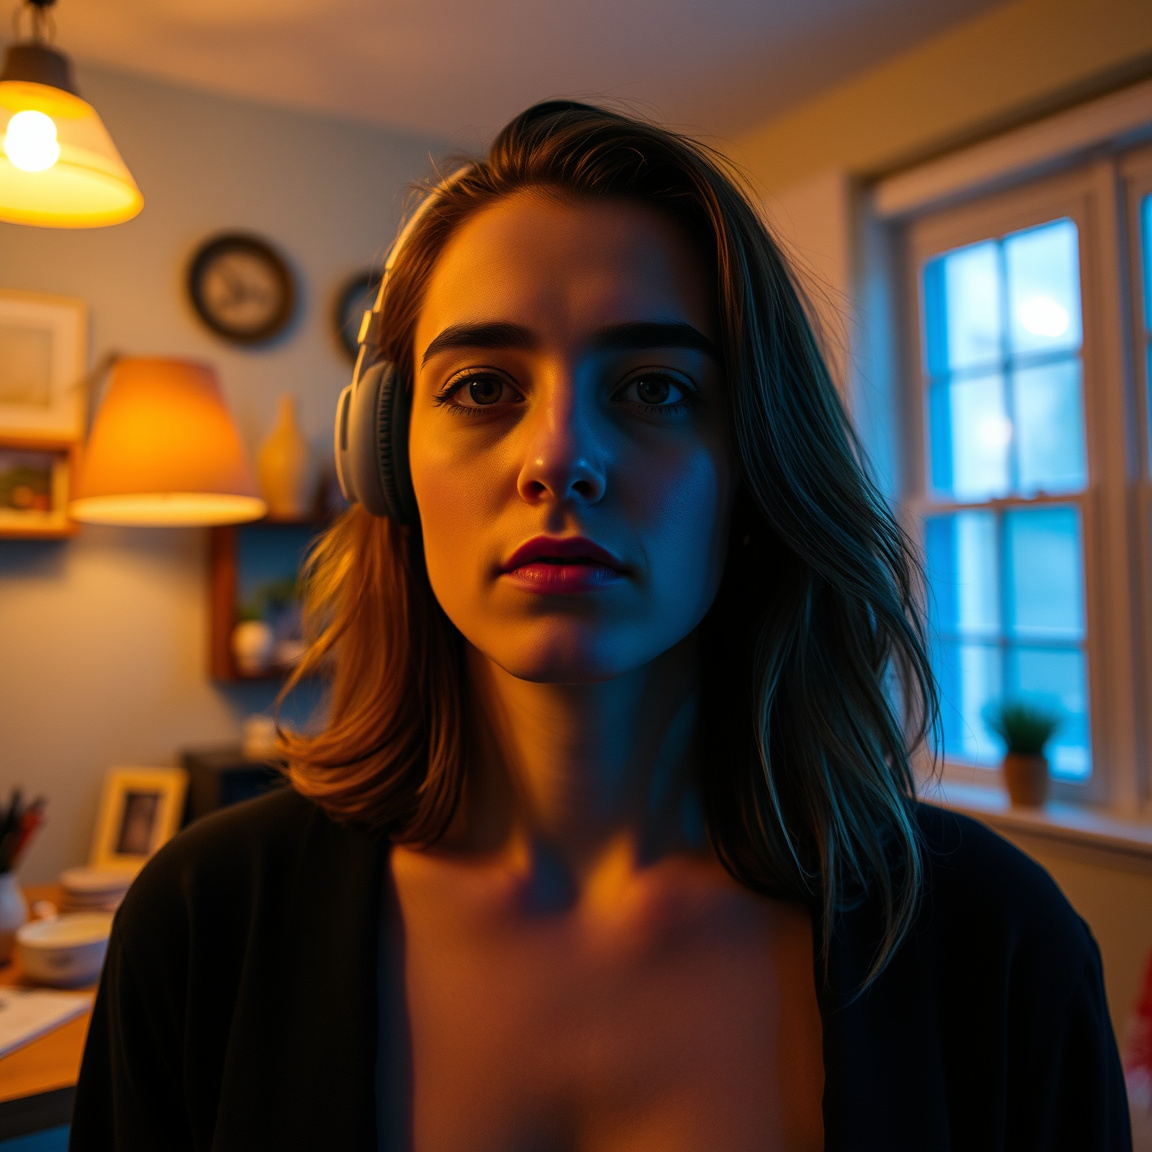
An orange or blue colour cast across a photo, especially indoors under tungsten bulbs or mixed lighting, is a white balance failure, not an exposure problem. Automatic white balance estimates the colour temperature of the light source and adjusts the image to make white objects look white; under mixed light sources, or under warm household bulbs, that estimate is frequently wrong, and the whole photo shifts toward orange, yellow or blue.
There are two ways to correct it, applicable at different stages:
| Approach | When to use it | Trade-off |
|---|---|---|
| Set a matching white balance preset (tungsten, fluorescent, custom) before shooting | Consistent single-source lighting, when getting it right in-camera matters | Requires knowing or measuring the light source in advance |
| Correct white balance after the fact in editing software | Mixed or changing light, or when shooting in a hurry | Only fully recoverable if the file was shot in raw rather than JPEG |
That last distinction matters more than most beginner guides admit. A JPEG file has its white balance baked in by the camera at the moment of capture, so correcting a strong colour cast afterward can introduce banding or flat colour. A raw file keeps the original sensor data and lets white balance be set after the fact with no quality loss, which is one of the clearest practical reasons to shoot raw when a photo's lighting is unpredictable — indoor events, mixed window and lamp light, or fast-changing conditions where there's no time to dial in a preset before the moment passes.
Camera left in a fully automatic mode
A subject that comes out too dark against a bright background, or blown out white against a dark one, is usually the result of the camera metering for the whole scene rather than for the subject. Fully automatic mode calculates an average exposure across the frame, so a person standing in front of a bright window, or a dark subject against a pale wall, gets exposed as if they were mid-grey — which is wrong for both.
Moving out of full auto doesn't require jumping straight to full manual. Aperture-priority mode lets the photographer choose the aperture (and therefore the depth of field) while the camera still sets the shutter speed, and shutter-priority does the reverse for the shutter speed — both are useful stepping stones that fix the metering-average problem without requiring the photographer to set every value themselves. Adobe's photography guides point out that using exposure compensation alongside these semi-automatic modes lets a photographer tell the camera to deliberately overexpose or underexpose relative to its own reading — exactly what's needed when the subject, not the average of the frame, should determine the final brightness.
The order in which to change settings matters, and it's usually skipped in beginner advice. Once in a semi-automatic or manual mode, the practical sequence is: decide the aperture first if depth of field (background blur) matters more, or the shutter speed first if freezing or blurring motion matters more; then check the light meter reading in the viewfinder or on the screen; then adjust ISO last to bring the exposure to where it needs to be once the creative choice (aperture or shutter speed) is locked in. Deciding ISO first, before the creative priority, usually means re-adjusting it anyway once the other two are set.
Subject
The subject is the single element the photo exists to show, and every other decision — framing, aperture, focus point, exposure — should serve it rather than the scene as a whole. A photograph without a clear subject reads as a snapshot of a place rather than a picture of something, because the viewer has nowhere to look first.
In practice, deciding on the subject before raising the camera changes framing choices that are easy to get wrong otherwise: how close to stand, what to exclude from the edges of the frame, and where to place the focus point. A common beginner mistake is including a subject somewhere in the frame rather than building the frame around it — leaving too much empty space, or letting a distracting background element (a pole behind someone's head, harsh clutter in a corner) compete for attention. Checking the edges and background of the frame before pressing the shutter, not just the subject in the centre, catches most of these problems before they're permanent.
Exposure
Exposure is the overall brightness of a photograph, and it's set by three controls working together rather than any one of them alone: aperture, shutter speed and ISO. Each of the three can be pushed in one direction to compensate for pulling one of the others in the opposite direction, which is why they're usually described as a triangle rather than a list — widening the aperture, slowing the shutter, or raising the ISO will each brighten an exposure, but each carries a different visible side effect (shallower depth of field, more motion blur, or more noise, respectively).
Getting exposure close to correct in-camera matters more than it might seem if the photo is going to be edited afterward, and this is where the choice between raw and JPEG becomes practical rather than technical. A raw file retains far more of the original highlight and shadow detail captured by the sensor, so a moderately under- or overexposed raw file can often be corrected in editing with little visible quality loss; a JPEG has already discarded that extra information, so the same correction is more likely to show clipped highlights, blocked shadows, or colour banding. Getting exposure right at the time of shooting matters for both file types, but it matters more for JPEG, because there's less room to fix it afterward.
Focus
Focus determines which plane of the scene appears sharp, and in most photographs of people it needs to be placed on the eyes specifically, not just somewhere on the face or body. A portrait where the focus has landed on an ear, a shoulder, or the background behind the subject reads as a mistake even if the exposure and composition are otherwise fine, because viewers judge sharpness in a photo of a person by looking at the eyes first.
Autofocus systems offer different ways to control where that sharp plane lands: a single, movable focus point gives the most precision for portraits and static subjects; a wider focus area or automatic subject tracking is more forgiving for moving subjects, such as children or animals, where a single point is likely to lose the subject between frames. Choosing the wrong mode for the situation — a single fixed point on a fast-moving subject, or a wide automatic area for a portrait with a busy background — is a common reason a photo comes back with the wrong thing sharp even when the camera itself focused successfully on something.
ISO
ISO is the sensor's sensitivity setting, and it's the third control in the exposure triangle alongside aperture and shutter speed — raising it brightens the image without changing depth of field or motion blur, which makes it the setting to reach for once aperture and shutter speed have already been chosen for their other effects. The trade-off is noise: as ISO rises, the image increasingly shows visible grain and a loss of fine detail, especially in shadow areas.
Every camera has a base ISO — usually the lowest native setting, often 100 or 200 — where noise is at its minimum and dynamic range is at its best, which is why it's the default starting point in good light. Beyond a certain point specific to each camera's sensor, noise becomes visible enough to affect the usability of the image, and that ceiling is much higher on a modern full-frame sensor than on a small phone sensor, which is one of the reasons phone photos degrade more visibly in low light than photos from larger-sensor cameras. Rather than avoiding high ISO altogether, the practical approach is to treat it as the last adjustment made once aperture and shutter speed have been set for their creative effect, raising it only as far as the resulting noise stays acceptable for how the photo will be viewed or printed.
Light / lighting
Light is the base variable underneath every other setting, and its quality, direction and quantity determine what the exposure triangle even needs to solve for. Soft, diffused light — an overcast sky, a window with sheer curtains, open shade — produces gentle shadows and even skin tones with very little effort; hard, direct light, such as midday sun or a bare on-camera flash, produces harsh shadows and blown highlights that are difficult to fix afterward even in raw.
Direction matters as much as softness. Light coming from behind the subject and toward the camera (backlighting) tends to silhouette the subject unless the camera is told to expose for the subject rather than the bright background behind it — precisely the metering problem described earlier under automatic mode. Light coming from the side reveals texture and shape through shadow, which is generally more flattering for portraits and landscape detail than flat light coming straight from the camera position. This isn't a technique to learn so much as a constraint to read before choosing any setting: the available light in a given room, street or hour of the day sets limits on what shutter speed, aperture and ISO combination is even possible, and no camera mode changes that.
Camera modes
Camera modes decide which of the three exposure controls the photographer sets directly and which the camera fills in automatically, and choosing the right one for the situation is more useful early on than jumping to full manual.
| Mode | Photographer sets | Camera sets | Best suited to |
|---|---|---|---|
| Auto | Nothing | Aperture, shutter speed, ISO | Fast, low-stakes situations; least control over the look |
| Aperture-priority | Aperture, ISO (optional) | Shutter speed | Controlling depth of field — portraits, backgrounds |
| Shutter-priority | Shutter speed, ISO (optional) | Aperture | Controlling motion — sports, wildlife, waterfalls |
| Manual | Aperture, shutter speed, ISO | Nothing | Full creative control, consistent lighting, learning the exposure triangle |
Smartphone cameras complicate this table somewhat, since most phones don't expose an aperture control at all — the lens aperture is usually fixed at manufacture — so the equivalent adjustments are made through shutter speed, ISO and exposure compensation sliders inside the camera app, or by tapping the screen to set both focus and metering point manually. A phone photographer can still apply most of the diagnostic logic above (subject-based exposure, correct white balance, deliberate focus placement) even without a physical aperture ring, which matters given how much of the audience for photography advice is shooting on a phone rather than an interchangeable-lens camera.
What are 7 basic tips for taking good photographs?
Seven habits cover most of what separates a deliberate photograph from an accidental one, and they mix technical settings with behavioural habits that no camera mode fixes automatically:
- Choose a clear subject before framing, and build the composition around it rather than including it incidentally.
- Check the background and edges of the frame, not just the subject, for clutter or distractions that will compete for attention.
- Set exposure for the subject, not the average of the scene, using exposure compensation or a semi-automatic mode when backlighting or a bright/dark background would otherwise fool the meter.
- Match focus to the situation — a single point for a static subject's eyes, a wider or tracking area for anything moving.
- Choose shutter speed for the motion in the scene, fast enough to freeze it or slow enough to blur it deliberately, and stabilise the camera when the shutter speed drops below what can be held steady.
- Read the available light before adjusting anything else, since it sets the limits every other setting has to work within.
- Get physically closer, or move, rather than relying on zoom or cropping afterward — PCMag's camera testing guidance notes that changing physical position changes the relationship between subject and background in ways zooming alone cannot.
None of these seven require expensive equipment, and several of them — checking the background, getting closer, reading the light before shooting — cost nothing but attention.
What are the 7 basics of photography?
The seven basics are the technical fundamentals a photographer sets or reads before every frame, distinct from the behavioural habits above even though the two lists overlap in most advice. They are: subject, exposure, aperture, shutter speed, ISO, focus and white balance — the settings and concepts, rather than the habits, that determine how a scene translates into a file.
Where these fundamentals interact most visibly is in framing decisions that go beyond the well-known rule of thirds. The rule of thirds divides a frame into a three-by-three grid and places the subject or horizon along those lines or their intersections; a related but distinct approach, sometimes called the 20-60-20 rule, instead thinks about a frame in terms of proportion rather than gridlines — a smaller portion of the frame given to foreground, the larger middle portion to the subject and its immediate surroundings, and a smaller portion again to background, so that the subject sits within the bulk of the visual weight rather than the frame's precise geometric lines. It's a looser guideline than the rule of thirds, useful for scenes with clear foreground, subject and background layers — a person standing in a landscape, for instance — where thinking in proportions of the frame is more natural than thinking in grid intersections.
Learning the seven basics and the seven behavioural habits together, rather than treating either list as complete on its own, is what actually closes the gap between a technically correct exposure and a photograph someone wants to look at twice. The next useful step is picking one scene — a backlit window, a moving pet, a dim room — and working through the diagnostic questions above on an actual frame rather than reading about them in the abstract.